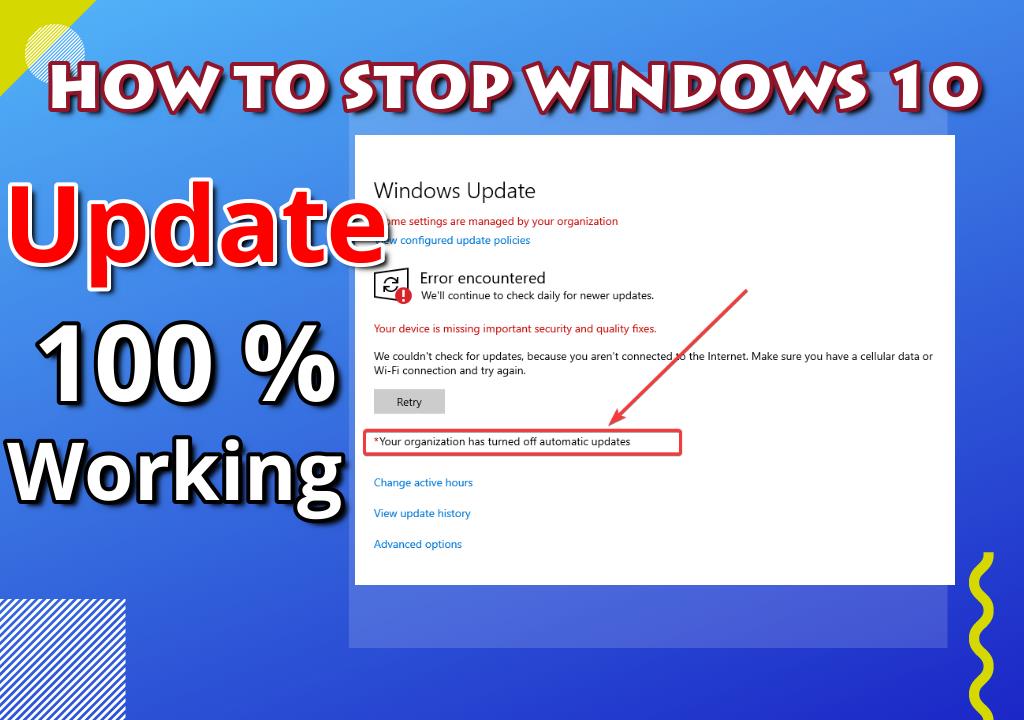
Windows update is one of the reasons why I stopped using the latest version of Windows 10 1809 and above. If you are using the latest version of Windows 10 you will notice that you can’t stop Google chrome updates, spotlight images updates, and windows updates. This is because Microsoft doesn’t want you to be left out on newer updates and features on Windows 10. In this article, we will show you how to stop Windows 10 version 1809 and above Updates easy and fast, in 5 minutes.
HOW TO STOP WINDOWS UPDATES ON WINDOWS 10 VERSION 1809 AND ABOVE
First Step
Step 1: Right press Windows + R on your computer
Step 2: Type MMC and click on Ok, this will redirect you to console root
Step 3: Click on file and then Add/remove Snap-in or you can either press Ctrl + M on your keyboard for an easier task
Step 4: Scroll down and then double click on Group Policy Object, after that click on finish and then Ok
Step 5: Click on the dropdown below Local Computer Policy to Computer Configuration to Administrative Templates to Windows Components
Step 6: After clicking on Windows Component scroll down until you see Windows Update
Step 7: Double click on Window Updates folder to open
Step 8: Now in the right part in Windows Update folder click on Configure Automatic Updates
Step 9: In Configure Automatic Updates click on Disabled in the top left corner and then click on Apply to save
Step 9: Close Configure Automatic Updates and then close Console Root, if you have a pop-up on your screen to save Console 1, click on No
Step 10: After closing Console Right press Windows + R again on your computer
Step 11: Type MMC and click on Ok, this will redirect you to console root
Step 12: Click on file and then Add/remove Snap-in or you can either press Ctrl + M on your keyboard to easily Add/remove Snap-in
Step 13: Scroll down and then double click on Group Policy Object, after that click on finish and then Ok
Step 14: Click on the dropdown below Local Computer Policy to User Configuration to Administrative Templates to Windows Components
Step 15: After clicking on Windows Component scroll down until you see Windows Update
Step 16: Double click on Window Updates folder to open
Step 17: Now in the right part in Windows Update folder click on Remove access to use all Windows Update features
Step 18: In Remove access to use all Windows Update features, click on Enabled in the top left corner and then click on the dropdown below Configure notifications and select Do not show any notifications, after that click on Apply to save
Step 19: Close Configure Automatic Updates and then close Console Root, if you have a pop-up on your screen to save Console 1, click on No.
Second Step
Step 1: Click on Windows logo on your keyboard and the search for Services
Step 2: After finding your results click Services to open
Step 3: After being redirected to the services page, scroll down carefully unit you see Windows Update
Step 4: Double click on Windows Update to open and then set Startup type to disabled
Step 5: Click on apply, close the Services dialogue box and restart your computer
Step 6: After restarting your computer, check for Windows Updatesby clicking on Windows logo on your computer and search for Windows Update Settings
Step 7: After getting your results, click on Windows Update Settingsto open
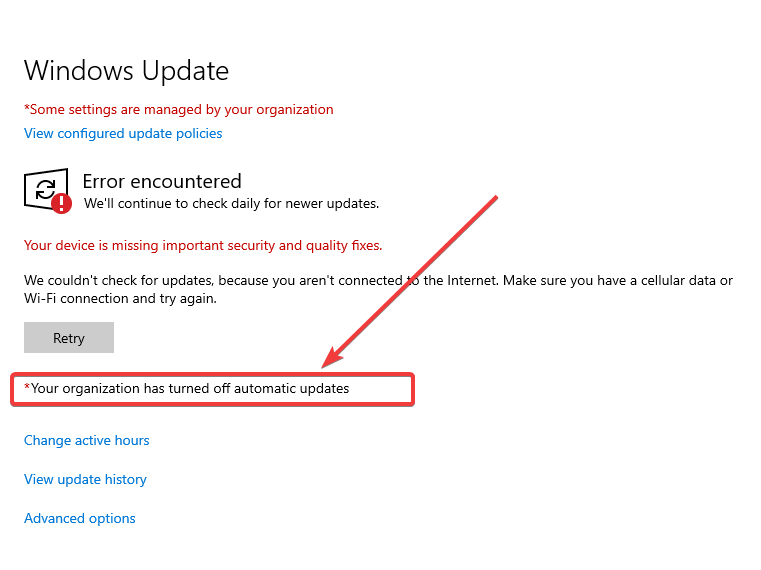
Step 8: Immediately after opening Windows Update Settings click on check for updates, if you get this error this means Windows Update has stopped but if you don’t redo the process again.
Note: Check Services App on your computer daily because Windows updates automatically restart after 1 day. So after a day, open services on your computer and Disable Windows Updates. If you don’t check Services App daily, Windows Updates may automatically restart without you knowing.
For now, there is no stable fix to stop Windows updates, but if there is any stable fix to stop Windows 10 we will notify you guys.
Related
Conclusion
If this article helped you stop Windows update on your computer please don’t forget to comment down below and also follow us on our social media platforms.


![Latest Clean Up Roblox Codes [month] [year]](https://tunnelgist.com/wp-content/uploads/2024/04/ROBLOX-CODES-_20240402_170517_0000-1.jpg)
![Anime rangers Codes [month] [year] – Roblox](https://tunnelgist.com/wp-content/uploads/2024/04/ROBLOX-CODES-_20240402_154736_0000.jpg)
![Asphalt 9 Codes [month] [year]](https://tunnelgist.com/wp-content/uploads/2024/03/WIKI_20240331_152102_0000.jpg)