
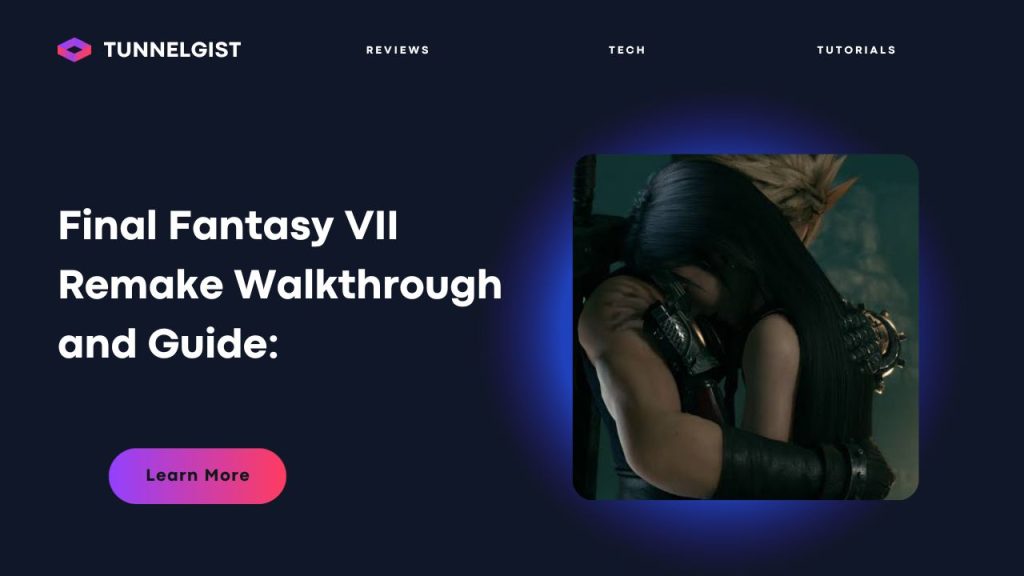
Final Fantasy VII Remake Walkthrough and Guide: Choosing Difficulty and Preparing for Hard Mode
The highly anticipated Final Fantasy VII remake is finally here, offering players the chance to revisit the iconic world and characters of the original PlayStation game. As you embark on this new adventure, it’s essential to make informed decisions about your difficulty level to ensure a challenging yet rewarding experience. In this blog post, I will provide guidance and advice to help you navigate the difficulty options and create a path that prepares you for the ultimate challenge: completing the entire game in Hard Mode.
Learn More
Table of Contents
Choosing Difficulty: Normal Mode is the Perfect Starting Point
When it comes to choosing a difficulty level, my advice is to start your journey in Normal Mode. This mode is designed to provide a perfectly balanced gameplay experience, offering a mix of exploration and combat that requires skill and patience. While it may be tempting to opt for the more accessible Easy Mode, I believe that Normal Mode is a much better choice for several reasons:
Final Fantasy VII Remake Walkthrough
For full Walkthrough watch this video down below:
Final Fantasy VII Remake Guide
Combat Basics
When you only have one character at the beginning of a game, the usual pattern is to attack with the Square button first to fill up the ATB gauge (in the lower right corner of the screen.) Once your gauge is at least half full, you can spend that charge to use an Ability, cast a Spell, or use an Item. You can then repeat this process.
Your basic attacks generally do minimal damage, while Abilities can do considerably more. Therefore, the logic behind this approach is to use basic attacks to fill the ATB gauge quickly and then utilize Abilities to deal significant damage.
It is important to note that you cannot generally start a battle by healing or casting spells because you lack the ATB to do so. Therefore, you must be proactive about healing to prevent yourself from requiring healing but having insufficient ATB to do so.
If you have more than one character, the usual pattern is as described above, but once you spend that ATB charge, immediately switch to a different character and fill their ATB gauge and use that charge. This allows you to alternate between different characters, maximizing their contribution to the battle.
You Should Be Aware
It has come to my attention that it is essential to inform you about a potential disruption that may occur if you are attacked during the brief period between when you enter a command that involves ATB (Active Time Battle) and the instant you actually perform that action. If such a scenario unfolds, it may result in the disruption of your intended action.
Potential Consequences
In the event of such an occurrence, you will lose your ATB, and if you were in the process of casting a spell, you will also lose any MP (Magic Points) that you had planned to spend. Therefore, it is essential to be cautious and ensure that your environment is relatively safe before utilizing your ATB.
Enemy Targeting
Additionally, it is essential to understand that enemies in the game tend to target the character you are controlling. By frequently switching the character you are controlling, you can distract and confuse the enemies, keeping them off balance and giving you an advantage in battle.
Cloud’s Combat Basics
Cloud has 2 modes of attack: Operator Mode (his default) and Punisher Mode. You can toggle between these modes by pressing Triangle.
Operator Mode has the following properties:
– Cloud can move freely.
– He will execute a sequence of basic attacks if you press Square up to 5 times.
– If you press and hold Square, Cloud will execute a circular AOE (Area of Effect) attack. Continuing to hold Square will cause him to execute a second AOE attack.
These modes of attack provide players with different strategies and options for defeating their opponents in Cloud’s character.
Properties of Punisher Mode:
– Punisher Mode induces a defensive stance, causing Cloud to move slowly. As a result, this mode is generally best employed when Cloud is already in close proximity to his target.
– In Punisher Mode, Cloud’s attack speed increases, resulting in faster gauge buildup for the ATB (Active Time Battle) system.
– To exit Punisher Mode, players can either press Triangle again or hit the Circle button to perform a dodge roll.
– Pressing Square up to three times triggers a sequence of basic attacks.
– Holding down Square briefly (approximately 10 seconds) activates Berserk status. in this state, Cloud takes more damage but also deals significant damage to enemies. The Berserk status is indicated by an orange “teeth” icon in the lower right of the screen. The icon has a clock that indicates the remaining time until Cloud’s Berserk status wears off.
If you hold the R1 (block) button while in Punisher Mode, Cloud will Parry the next melee attack, reducing the damage he takes by 60%. This Parry attack will increase the enemy’s Stagger considerably. However, he cannot Parry Magic attacks or distance attacks (like bullets).
Cloud starts the game with 2 special attacks — Braver and Focused Strike. Each of these attacks costs one ATB bar to use. As he acquires more weapons, he will gain more special attacks or “Weapon Abilities.”
The Braver attack is a more powerful and destructive option, but it takes longer to charge up. It deals significant damage to the opponent and a small area of effect around them.
On the other hand, the Focused Strike attack has lower damage potential, but it excels at staggering the opponent. When the enemy is in a state of “Pressured,” this attack becomes even more effective, increasing the Stagger gauge. Standard tactics against formidable foes involve getting them into Pressured state and then utilizing multiple Focused attacks to bring them to full Stagger.
By acquiring more weapons, Cloud gains access to additional special attacks called “Weapon Abilities.” These attacks further diversify his combat options and enhance his overall effectiveness in battle.
Boss Fight — Scorpion Sentinel
First, here are some basic things to keep in mind during this fight:
– The Scorpion Sentinel has a Defense of 57, but its Magic Defense is only 11. This means that you will be able to deal damage more quickly with Magic attacks.
– When a specific part of the enemy becomes available as a target (in this case, its Field Generator and the Legs), it is advisable to attack that part with force and speed.
– Once Cloud gets into position to attack, his Punisher Mode will cause more damage than his Operator Mode, especially when he has completed a cycle of attacks and becomes Berserked.
– When a character Staggers an enemy, the gauge for their Limit Break will charge significantly (approximately 30%). Therefore, it is often more effective to have one character Stagger the enemy every time, as this increases the chances of acquiring the Limit Break.
The attack plan you’re referring to can be summarized as follows:
1. Immediately put Cloud in Punisher Mode (Triangle button) and have him guard (R1 button) in order to minimize damage and Parry the boss’ initial attack.
2. Have Barret unload Overcharge (Triangle button) to fill an ATB bar. Once filled, Barret should switch back to Cloud.
3. Cloud should then perform a full round of attacks in Punisher Mode. When Cloud reaches Berserk status, he should throw a Fire spell at the boss.
4. If the boss is not Pressured, have Barret throw a Thunder spell, and that should do the trick.
5. Barret and Cloud should alternate attacks (to fill ATB), followed by a Focused Shot or Focused Thrust to Stagger the enemy. If possible, Cloud should perform that last attack that staggers, as this will yield a Limit Break boost.
By following this strategy, you should be able to effectively deal with the boss and maximize your damage output.
After the cutscene, your team will be positioned far away from the boss, who has rendered himself impervious to both physical attacks and Thunder attacks. Your primary objective is to inflict damage on the Field Generator, which is located on the boss’ backside. To achieve that, instruct Cloud to enter Operator Mode and lock onto the boss using the R3 button. While in Operator Mode, Cloud’s movement towards the target should be significantly faster than it would be if he were simply running.
To further disrupt the boss’ defenses, have Barret use a Focused Shot to strike the Field Generator. This attack should cause the boss to stumble and retreat towards the wall. Promptly, have Cloud stagger the Field Generator once again, which should allow his Limit Break gauge to reach nearly full capacity.
Finally, have Barret fire a Fire spell at the Sentinel’s rear, aiming to hit the Field Generator as well. This combo should disable the Field Generator and inflict pressure on the boss, who will jump onto the wall.
Once on the ledge, have Barret use a Focused Shot to target the boss. This attack should cause the boss to fall back down to the ground, providing you with an opportunity to unleash Cloud’s Limit Break, preferably inflicting significant damage on the boss.
Take cover behind the debris when the boss charges its Tail Laser. Then come out and continue to beat on the Scorpion until its legs become targets.
To effectively take down the Sentinel, focus on taking out its legs one by one. This will allow you to weaken the Sentinel’s movement and ultimately make it easier to defeat.
Remember to be patient and observant, as the Sentinel’s legs can be difficult to hit at first. It may take several attempts and strategies to find its weak points.
Once you have successfully taken out the Sentinel’s legs, focus on finishing it off. Utilize your weapons and skills to inflict as much damage as possible, ensuring a quick and victorious outcome.
Remember to stay alert and adapt to the situation as it unfolds. The Sentinel is a powerful foe, and it may take a few attempts to bring it down. With careful planning and execution, you will be successful in your mission.
Objective: Escape from the Reactor
In the reactor, the timer is less of a concern as it frequently stops, granting you ample time to plan your escape. Jessie, a reliable guide, will disclose the correct escape route. However, it’s important to note that her assistance cannot be guaranteed.
During your escape, you’ll encounter a Sweeper that will attempt to block your path. Fortunately, this is one of the rare instances where you can avoid a battle altogether. Simply run around the Sweeper and continue up the stairs.
While escaping, you will come across other enemies that you’ll need to dispatch. Although these foes may pose a minor obstacle, they shouldn’t significantly hinder your progress. Just keep pushing forward until you reach the elevator.
Once on the elevator, save Jessie and showcase Cloud’s impressive leaping capabilities. By doing so, you’ll earn a participation trophy for completing the first chapter.
Remember, your primary objective is to escape from the reactor, regardless of the challenges that may arise along the way. Stick to your escape plan, stay vigilant, and be ready to overcome any obstacles that stand in your way. Good luck!


